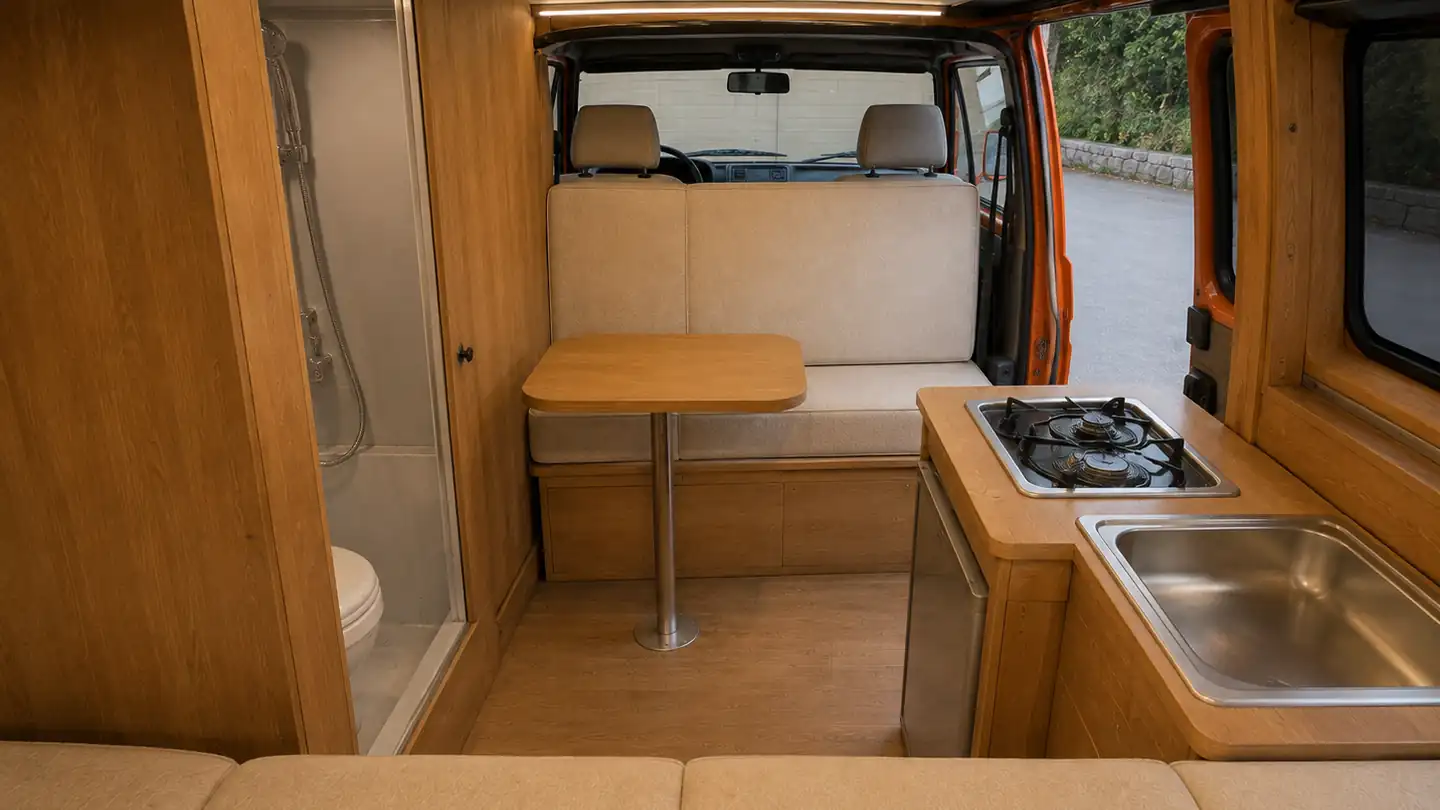
How to Convert a Van into a Camper: A Step-by-Step Guide
A practical, step-by-step plan for converting an empty cargo van into a comfortable camper, from planning and insulation to electrics, furniture and final safety checks.
Turning an empty cargo van into a home on wheels is one of the most satisfying projects you can take on. It is also one of the easiest to get wrong if you start cutting and screwing before you have a plan. This guide walks through the conversion in the order professional builders actually work, so that each stage sets up the next one instead of forcing you to undo work later.
Whether you plan to do everything yourself or hand some stages to a workshop, understanding the sequence will save you time, money and frustration.
Step 1: Define How You Will Use the Van
Before you buy a single panel of plywood, write down how you will actually use the van. The answers shape every decision that follows.
- Weekend trips or full-time living? A weekend van can get away with a cool box and a small battery. A full-time van needs a proper fridge, more storage and a bigger electrical system.
- How many people sleep in it? One person, a couple, or a family changes the bed layout completely.
- Which climate? A van that will see snow in the mountains needs better insulation and a heater. A van used mainly on the coast in summer needs ventilation above all.
- Off-grid or campsites? If you will mostly plug into campsite power, you can keep solar modest. If you want to stay off-grid for days, you need more battery and solar capacity.
- Do you need a shower or toilet? Wet rooms take a lot of space and add weight. Many people decide they are not worth it after an honest look at how they travel.
Keep this list. When you are tempted by a feature you saw online, check it against your real needs.
Step 2: Choose the Right Base Vehicle
If you have not bought the van yet, pay attention to roof height, wheelbase, payload and mechanical condition. A high-roof van lets most adults stand up, which makes a huge difference to daily comfort. A longer wheelbase gives room for a fixed bed plus a kitchen, but it is harder to park in old town centres.
Payload is often overlooked. Every conversion adds weight: insulation, furniture, batteries, water, and then your own gear. Check the gross vehicle weight on the plate and subtract the kerb weight to see how much you can really carry. We cover specific models in our guide to the best vans for camper conversion.
Step 3: Design the Layout on Paper
Measure the cargo area carefully: length at floor level, width between wheel arches, width above the arches, and height. Draw it to scale on graph paper or in a free tool, then try several layouts.
Common layouts include:
- Rear fixed bed across the van with storage (a "garage") underneath. Popular because the bed is always ready and the garage swallows bikes and gear.
- Convertible dinette where the seating turns into a bed at night. Saves space in shorter vans but means making the bed daily.
- Side kitchen with a sliding-door galley so you can cook while looking outside.
Mark where the heavy items go. Water tanks and batteries should sit low and as close to the axles as practical, ideally spread evenly left to right.
Step 4: Strip, Clean and Treat Rust
Remove any existing ply lining, bulkhead and rubber matting. Clean the bare metal thoroughly. Treat every spot of surface rust now, because you will not see that metal again once the van is lined. Use a rust converter where needed and primer or paint on bare spots, especially on the floor and around any old screw holes.
Step 5: Cut Openings for Windows, Vents and Fans
Cutting holes in a van feels scary, but it must happen before insulation goes in. Typical openings are:
- A roof fan for ventilation (arguably the single most important comfort upgrade).
- Side windows for light and views.
- Possibly a roof vent for the shower area or a skylight.
Measure several times, use the template supplied with each product, drill pilot holes in the corners, and cut with a jigsaw fitted with a metal blade. Paint every cut edge with primer to stop rust, then fit the units with the recommended sealant.
Step 6: Plan and Run the Wiring
Before insulation and walls go up, decide where every light, socket, switch and appliance will be, then run cables to those points. Leave extra length and label both ends. Use conduit or protective sleeving where cables pass through metal, and add grommets to every hole.
You do not need to connect anything yet. The goal is simply to avoid tearing out wall panels later. Our campervan electrical and solar basics guide explains how to size the system.
Step 7: Insulate
Insulation keeps the van warmer in winter and, just as importantly in Mediterranean summers, cooler in the sun. A typical approach:
- Cover large flat metal areas with a sound-deadening material if you want a quieter van (optional).
- Fill wall and roof cavities with a suitable insulation, such as closed-cell foam boards or a sheep wool or synthetic fibre product designed for vehicles.
- Address condensation by managing moisture: good ventilation does more than any single product.
Avoid leaving cavities where humid air can meet cold metal. That is where condensation and mould begin.
Step 8: Build the Floor
Most builders lay battens or a thin insulation layer on the floor, then a sheet of plywood cut to the van's shape, then a hard-wearing vinyl or similar finish. Use the van's existing tie-down points or rivet nuts to fix the floor securely. A floor that moves will squeak and loosen every piece of furniture you attach to it.
Step 9: Fit Wall and Ceiling Panels
Fix battens to the van ribs using rivet nuts or self-tapping screws of the right length (check carefully what is behind the panel before drilling). Then attach thin plywood, lining carpet or tongue-and-groove panels. Take your time on the ceiling, as it is the most visible surface and the hardest to fix later.
Step 10: Build the Furniture
Furniture in a van must be light and strong. Lightweight poplar plywood is a common choice. Every unit must be anchored to the van structure, not only to the wall panels, because in a sudden stop loose furniture becomes dangerous.
Build in this order: bed frame, then kitchen unit, then overhead lockers and wardrobes. Use positive latches on all doors and drawers so they stay shut on rough roads.
Step 11: Install Water, Gas or Diesel Heating
A basic water system is a fresh water tank, a 12V pump, a tap and a grey water tank or container. Keep tanks low and protected from freezing if you travel in winter.
For cooking, many builders now choose induction (which needs a large battery) or a portable gas stove. Fixed gas installations must follow local regulations and should be done or inspected by a qualified professional. Diesel night heaters are popular for cold climates because they run off the vehicle's fuel tank.
Step 12: Connect the Electrical System
Now mount the battery, charge controller, fuse box, inverter (if needed) and solar panel, and connect the cables you ran earlier. Fuse every positive cable as close to the battery as possible, use correctly sized cables, and test each circuit. If you are not confident, hire an auto electrician for this stage. Electrical mistakes are the main cause of van fires.
Step 13: Safety Checks and Paperwork
Before your first trip:
- Fit a smoke alarm and a carbon monoxide detector, and a gas alarm if you have gas.
- Carry a fire extinguisher and fire blanket within reach of the door.
- Weigh the finished van at a public weighbridge to confirm you are within legal limits.
- Check local rules for registering or insuring a converted vehicle. In many countries, including across the Middle East and Europe, changing a vehicle's use may require an inspection or a change to its registration. Your insurer also needs to know about the conversion.
Step 14: Shake-Down Trip
Take a short trip close to home. You will discover rattles, things that slide, a cupboard you can never open, and a light that should have been somewhere else. Fix these before the big journey.
How Long Does It Take?
Timeframes vary hugely. A simple weekend build with a bed platform and a portable kitchen can be done in a few weekends. A full build with insulation, electrics, water and custom furniture often takes first-time builders several months of evenings and weekends. Professional workshops usually work faster because they have tools, templates and experience.
DIY or Professional?
Many people mix both: they do the design, stripping and furniture themselves and hire professionals for gas, electrics and anything structural like windows. This keeps costs reasonable while making the risky parts safe. For a realistic view of budgets, see our van conversion cost breakdown.
Final Thoughts
A good conversion is the result of a clear plan followed in the right order. Decide how you will use the van, design around that, and do the hidden work (rust, wiring, insulation) carefully before anything pretty goes on top. Do that, and you will end up with a van that is comfortable, safe and a pleasure to travel in for years.
Gear we recommend
As an Amazon Associate we earn from qualifying purchases. Learn more.
- Van conversion roof vent fan on Amazon
- 200W flexible solar panel 12V on Amazon
- LiFePO4 battery 100Ah 12V on Amazon
- Sound deadening mat car on Amazon
- 12V compressor fridge freezer on Amazon