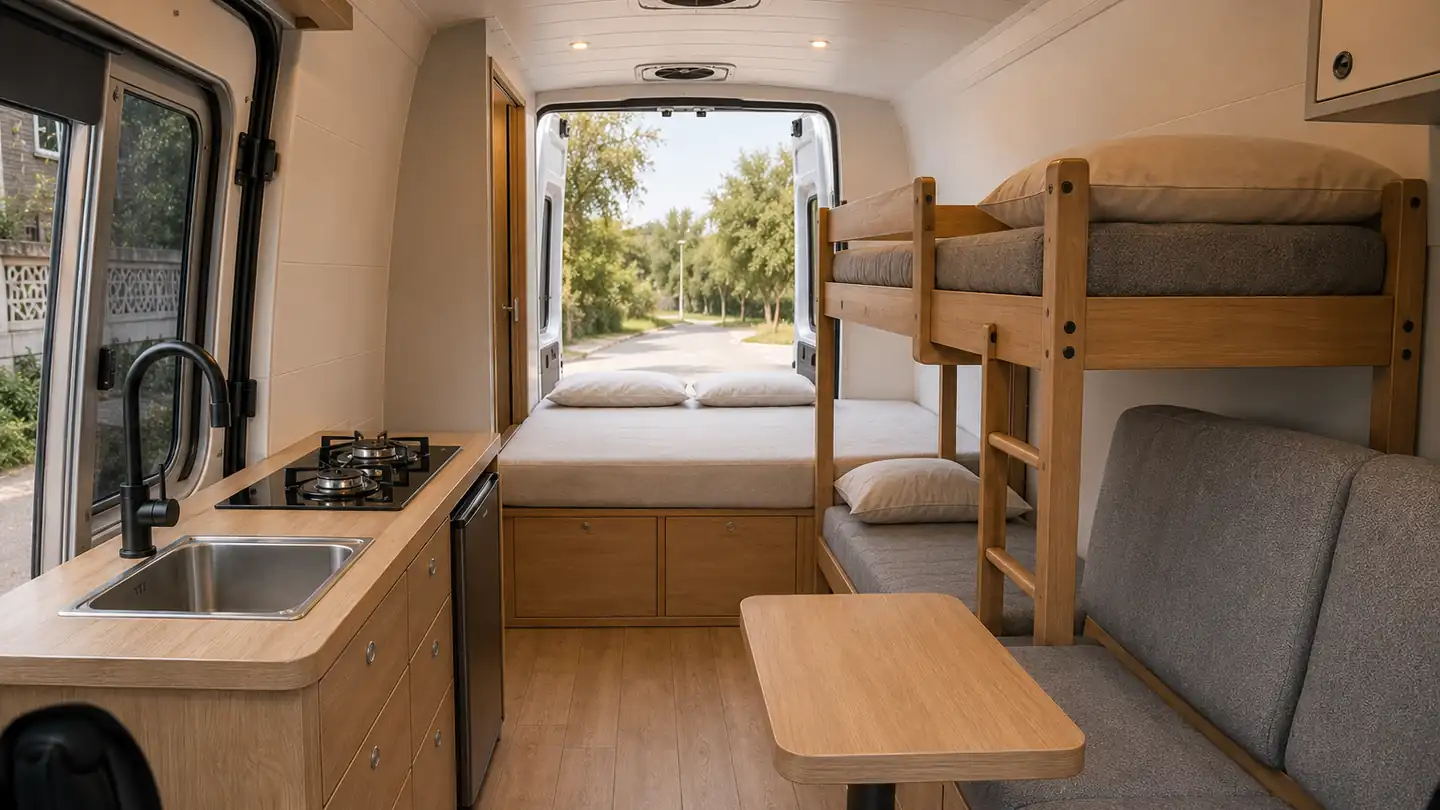
How Much Does a Van Conversion Cost? A Realistic Breakdown
A clear breakdown of what goes into the cost of a campervan conversion: the base van, insulation, electrics, furniture, water, heating and labour, with tips to control your budget.
"How much does it cost to convert a van?" is one of the most searched questions in the van life world, and the honest answer is: it depends enormously on your choices. Two conversions in identical vans can differ in cost by several times, depending on materials, systems and who does the work.
Rather than quote a single figure that would be wrong for most readers, this guide breaks the cost into categories, explains what drives each one up or down, and gives you a framework to build your own budget. Where we mention price levels, they are broad illustrative ranges, not quotes. Prices differ by country, currency, supplier and year, so always get current local prices.
The Three Big Cost Drivers
- The base van. Usually the largest single cost. A used van with high mileage costs a fraction of a new one.
- Your systems. A simple van with a cool box and a small battery is cheap; a van with lithium batteries, lots of solar, diesel heating, hot water and a shower costs much more.
- Labour. Doing everything yourself saves money but costs time. Paying a workshop costs more but brings skills, speed and often a warranty.
Cost Categories Explained
1. Base Vehicle
The van itself can range from an older used van to a brand-new high-roof model. Consider not just purchase price but also immediate repairs, new tyres, servicing and registration. Set aside a contingency for surprises on used vehicles.
2. Tools
If you are building yourself, you may need a jigsaw, drill/driver, rivet nut tool, crimping tool, multimeter, clamps, saws and sanders. Borrowing or renting tools can reduce this cost a lot.
3. Windows, Roof Fan and Vents
A roof fan is one of the best-value comfort items. Windows vary from simple fixed glass to opening, insulated units. Each additional window adds cost and also requires careful fitting.
4. Insulation and Sound Deadening
Insulation materials are a moderate part of most budgets. Costs depend on the product and van size. Sound deadening is optional and adds cost, but makes the drive quieter.
5. Floor, Walls and Ceiling
Plywood, battens, lining carpet or wood cladding, and floor covering. Lightweight poplar plywood usually costs more than standard ply, but the weight saving is worth it in a vehicle.
6. Electrical System
Often the largest variable after the van. A basic setup with a modest battery, one solar panel and a few lights is relatively affordable. A large lithium bank, high-wattage solar, DC-DC charger, inverter and shore power can multiply the cost. See our campervan electrical and solar guide to size your system before pricing it.
7. Furniture and Kitchen
Bed frame, kitchen unit, lockers and storage. Costs depend on materials (plywood, aluminium framing, solid wood), hardware (hinges, push-button latches, drawer runners) and finish. A kitchen worktop, sink and tap are also included here.
8. Fridge and Cooking
A 12V compressor fridge is a significant purchase but is far more efficient than older absorption or thermoelectric coolers. For cooking, a portable gas stove is cheapest; a fixed gas hob needs a professional install; induction needs a large electrical system.
9. Water System
Fresh and grey water tanks, pump, pipes, tap and filters. Adding hot water (a boiler or heat exchanger) and a shower raises costs noticeably and uses space.
10. Heating
A diesel air heater is a popular option for cold climates. If you only travel in warm seasons on the Mediterranean coast, you might skip it and invest in better ventilation instead.
11. Toilet
Options range from a simple portable cassette toilet to composting toilets. Many people only want something for emergencies.
12. Upholstery, Cushions and Finishing
Mattress, cushions, curtains or blinds, and the small finishing touches. Insulated window covers are worth considering for both heat and cold.
13. Safety and Legal
Smoke and carbon monoxide alarms, fire extinguisher, gas alarm (if you have gas), weighbridge check, inspection fees and any re-registration costs. Never cut these.
14. Contingency
Almost every conversion runs over budget. Plan an extra 10 to 20 percent for mistakes, forgotten parts, and the upgrades you decide you want halfway through.
Example Budget Tiers (Illustrative Only)
The tiers below describe what you typically get, rather than precise prices, because costs change quickly and vary by country:
Budget build (DIY, simple)
- Older used van.
- Basic insulation, fixed bed platform, simple kitchen box.
- Cool box or small fridge, small battery, one panel or none.
- Portable stove, water in containers.
- Mostly second-hand or recycled materials.
Mid-range build (DIY or mixed)
- Newer used van in good condition.
- Full insulation, lined walls, roof fan, one or two windows.
- Lithium battery, a few hundred watts of solar, DC-DC charger.
- Compressor fridge, sink with pump, fixed furniture.
- Possibly a diesel heater.
High-end or professional build
- New or nearly new van.
- Professional design and build, often with warranty.
- Large lithium bank, high solar, inverter, shore power, induction cooking.
- Hot water, shower, toilet, heating, premium finishes.
- Certification and paperwork handled by the workshop.
To turn these into numbers, build a spreadsheet with each category above, get two or three local quotes or supplier prices for each, and total them. This method gives a far more reliable figure than any internet average.
DIY vs Professional: The Real Comparison
DIY advantages
- Lower cash cost.
- Full control over every detail.
- You understand how everything works, which helps on the road.
DIY drawbacks
- Takes much longer than most people expect.
- Mistakes cost money and can be unsafe (especially electrics and gas).
- Resale value can be lower if the build quality is uneven.
Professional advantages
- Faster, with proper tools and experience.
- Safer electrical and gas installations.
- Often a warranty and documented work, which helps with insurance and resale.
Professional drawbacks
- Higher upfront cost.
- Less hands-on involvement, unless the workshop offers that.
A hybrid approach, where you do design and simple carpentry and a professional handles electrics, gas and windows, is common and sensible.
Ways to Save Money Without Cutting Safety
- Keep the layout simple. Every curve, extra drawer and special fitting adds hours and cost.
- Skip the shower if you will mostly use campsites, gyms or beaches.
- Size electrics to real needs, based on a power audit.
- Buy the van in good mechanical condition. Repairs can wipe out savings fast.
- Use second-hand items for non-safety parts: cushions, fittings, sinks.
- Build in stages. Start with bed, basic kitchen and electrics, and add heating or water later.
Hidden Costs People Forget
- Fuel and travel to collect parts.
- Paint, sealants, screws, rivet nuts and glue, which add up surprisingly.
- Insurance changes after conversion.
- Storage or a workshop space if you have no driveway.
- Registration or inspection fees.
Final Thoughts
The cost of a van conversion is not one number. It is the sum of many choices, from the base van to the size of your battery. Start with how you will use the van, cost each category with local prices, add a contingency, and decide which parts you will do yourself. If you are still choosing a vehicle, read our guide to the best vans for camper conversion, and if you are weighing a van against a towed caravan, see caravan vs campervan.
Gear we recommend
As an Amazon Associate we earn from qualifying purchases. Learn more.
- LiFePO4 battery 100Ah 12V on Amazon
- 200W flexible solar panel 12V on Amazon
- 12V compressor fridge freezer on Amazon
- Van conversion roof vent fan on Amazon