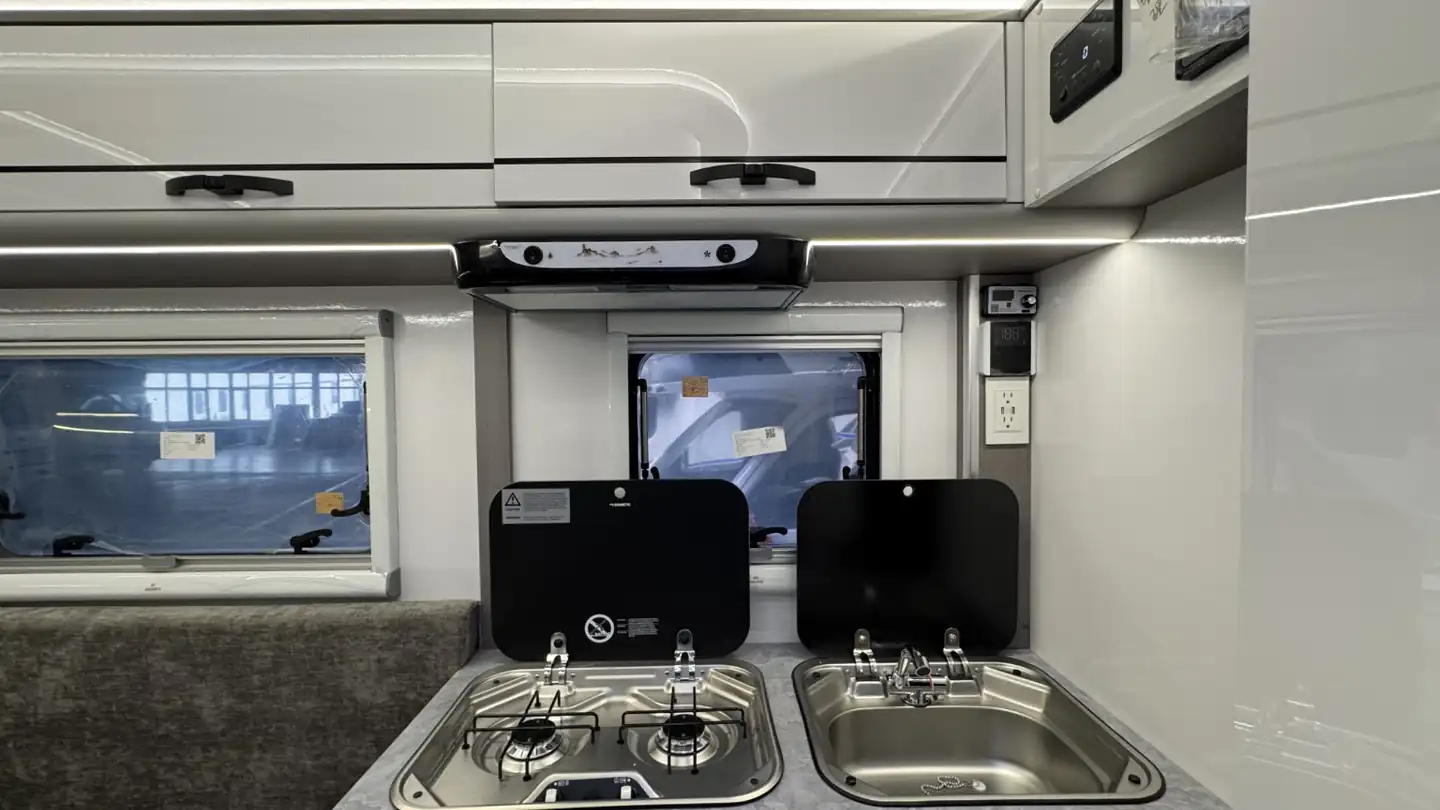
Campervan Water System Guide: Tanks, Pumps, Filters and Hot Water
Plan a reliable campervan water system: choosing fresh and grey tank sizes, 12V pumps, filtration, winter protection and simple hot water options for vans and small campers.
Running water is one of the features that turns a van with a bed into a true campervan. Being able to wash your hands, rinse a pan or take a quick shower without hunting for a tap makes life on the road far more comfortable. It is also one of the systems that causes the most frustration when it is badly planned: leaking fittings, pumps that cycle all night, tanks that freeze or smell, and water that runs out after a day.
This guide walks through the main parts of a campervan water system, the decisions you need to make, and the common mistakes to avoid. It is written for self-builders, but it is also useful if you are buying a converted van and want to understand what you are looking at.
The Basic Layout
Almost every campervan water system has the same building blocks:
- A fresh water tank that holds clean water.
- A pump that pushes water to the tap.
- Pipework and fittings that connect everything.
- A tap and sink (and sometimes a shower).
- A grey water tank that collects used water from the sink and shower.
- Optional extras such as a filter, an accumulator, a water heater and an external filler.
You can start very simply and add parts later. A portable jerry can, a small foot pump and a bowl is a perfectly valid "water system" for weekend trips. The more you rely on the van for longer trips, the more a fixed system makes sense.
Step 1: Work Out How Much Water You Use
Before buying a tank, estimate your daily use. Spend a weekend counting how many litres you actually use for drinking, cooking, washing up and washing yourself. Many people are surprised by how little they need when every litre has to be carried and every litre has to be emptied again.
Things that change your water use a lot:
- Showering inside the van uses far more water than washing at a sink.
- Cooking style: pasta and rice dishes need more water than simple salads and sandwiches.
- Climate: in a hot Lebanese summer on the coast or in the Bekaa you will drink much more.
- How often you can refill: if you stay near towns with public taps or campsites, a smaller tank is fine.
Remember that drinking water is often easiest to buy in bottles or large refillable containers, especially when you are unsure about local tap water. Many vanlifers use the onboard tank for washing and a separate container for drinking.
Step 2: Choose Your Fresh Water Tank
Tank Location
Water is heavy: one litre weighs roughly one kilogram. A full tank should sit low and as close to the axles as possible to keep handling safe. Common locations are:
- Inside the van, under a bench or in the kitchen unit. Easy to install and protected from frost, but it uses living space.
- Underslung, mounted beneath the floor. Saves interior space and keeps weight low, but is exposed to cold, stones and road dirt, and needs strong brackets.
If you travel in winter or into the mountains, an inside tank is much easier to protect from freezing. Our winter camping guide covers more cold-weather tips.
Tank Size and Shape
Buy the shape that fits your layout, not just the biggest you can find. Check your payload before deciding; a large tank full of water can push a van close to its legal weight limit. Our article on the best vans for camper conversion explains payload in more detail.
Choose a tank made from food-grade material, with an inspection hatch if possible so you can clean it. A vent is essential, otherwise the tank cannot fill or empty properly.
Filling Options
- External filler cap: convenient at campsites with hoses, but adds another hole in the bodywork.
- Internal filling with a funnel or hose: simpler, no extra holes, but messier.
- Removable containers: the easiest to refill from a public tap or spring, because you can carry them.
Step 3: Pick a Pump
There are two main types of 12V pump used in campervans.
Submersible Pumps
These sit inside the tank or container. They are cheap and simple, and are often paired with a microswitch tap that switches the pump on when you lift the lever. They suit small, simple systems.
Diaphragm Pressure Pumps
These are mounted outside the tank and switch on automatically when the pressure in the pipes drops, such as when you open a tap. They give a more "home-like" flow and work well with multiple taps, a shower and a water heater.
Tips for pressure pumps:
- Fit a strainer before the pump so debris does not damage it.
- Mount it on a solid surface with rubber feet to reduce noise.
- Add an accumulator (a small pressure vessel) if the pump pulses or cycles on and off. It smooths flow and reduces wear.
- Install an isolation switch so you can turn the pump off when driving or sleeping. This also prevents a small leak from emptying your whole tank.
Wire the pump with correctly sized cable and a fuse, following the same principles described in our campervan electrical and solar basics guide.
Step 4: Pipework and Fittings
Most campervan builders use either semi-rigid push-fit pipe or flexible reinforced hose with clamps.
- Push-fit systems are tidy and quick to work with. Cut pipe squarely, remove burrs and push fully home.
- Flexible hose is forgiving in tight spaces, but use proper clamps and food-safe hose for fresh water.
Keep runs short, avoid sharp bends and support the pipes so they cannot rub through on bumpy roads. Label which pipe is which. Before closing up any cabinets, run the system under pressure for a day and check every joint with a dry tissue.
Step 5: Filtration and Water Quality
Water quality varies a lot as you travel. Some taps provide treated drinking water; others, like village springs, may not be tested at all. A few options:
- Inline sediment filter: removes particles and protects the pump.
- Carbon filter: can improve taste and smell.
- Dedicated drinking water filter at one tap: more advanced filters designed for drinking water can reduce bacteria or other contaminants. Check the manufacturer's specifications and replace cartridges on schedule.
When in doubt, buy bottled water for drinking or boil water before use. Clean and sanitise your tank regularly, especially if the van has been parked in the heat. Stagnant water in a warm tank is a common cause of bad smells.
Step 6: Grey Water
Grey water is the used water from your sink and shower. It contains food particles and soap, and it starts to smell quickly in hot weather.
- Size the grey tank similar to or slightly smaller than your fresh tank.
- Fit a waste trap or a simple valve to stop smells coming back up the drain.
- Use a sieve in the sink to catch food scraps.
- Empty only where permitted: campsites, service points or designated disposal points. Never dump grey water in car parks, beaches or natural areas.
Some vanlifers carry a portable grey container instead of a fixed tank. It is easy to empty, but you must remember to check it before it overflows.
Step 7: Hot Water Options
Hot water is a luxury, but a very nice one. Options range from simple to complex:
- Kettle and washing bowl: cheap and effective.
- Solar shower bag: works well in sunny Mediterranean summers; hang it from the roof rack or rear door.
- Gas water heater: fast and powerful, but must be installed with proper ventilation and flue, ideally by a qualified installer.
- Diesel combination heaters that provide space heating and hot water.
- Electric immersion or calorifier systems: heat water using hook-up power or, in some systems, engine heat.
Gas appliances inside a vehicle carry safety risks. Follow manufacturer instructions, local regulations and fit a carbon monoxide alarm.
Step 8: Protecting Against Freezing
Even in the Middle East, nights in the mountains can drop below freezing in winter. Water expands when it freezes and can crack pumps, filters and fittings.
- Keep tanks and pipes inside the insulated living area where possible. See our campervan insulation guide.
- Fit drain valves at the lowest points so you can empty the system quickly.
- Open taps and run the pump briefly after draining to clear water from the lines.
- Do not leave water in the system if the van will be parked unheated in freezing weather.
Common Mistakes to Avoid
- Forgetting the tank vent, causing slow filling or a collapsing tank.
- Skipping the pump switch, which means a leak can drain the tank and run the pump dry.
- Mounting heavy tanks high up or at the very back, which hurts handling.
- Using non-food-grade hose for drinking water.
- Poorly supported pipes that rattle loose on rough roads.
- No access hatch for cleaning the tank.
Example Cost Ranges
Prices vary widely by country and brand. As a rough, labelled example only, a simple system with a container, submersible pump and microswitch tap can cost much less than a full pressure system with fixed tanks, accumulator, filters and a water heater, which can cost several times more. Get quotes from local suppliers and compare. For a broader view of conversion costs, see our van conversion cost breakdown.
Final Thoughts
A good campervan water system is simple, accessible and easy to drain. Start with your real water use, keep heavy tanks low, give yourself a way to switch everything off, and plan for cleaning and winter. Whether you are planning a full build as described in how to convert a van into a camper or upgrading an existing camper, getting the water right will make every trip easier.
Gear we recommend
As an Amazon Associate we earn from qualifying purchases. Learn more.
- 12V water pump RV on Amazon
- Fresh water tank 50L on Amazon
- Inline water filter RV on Amazon
- Drinking water hose RV on Amazon