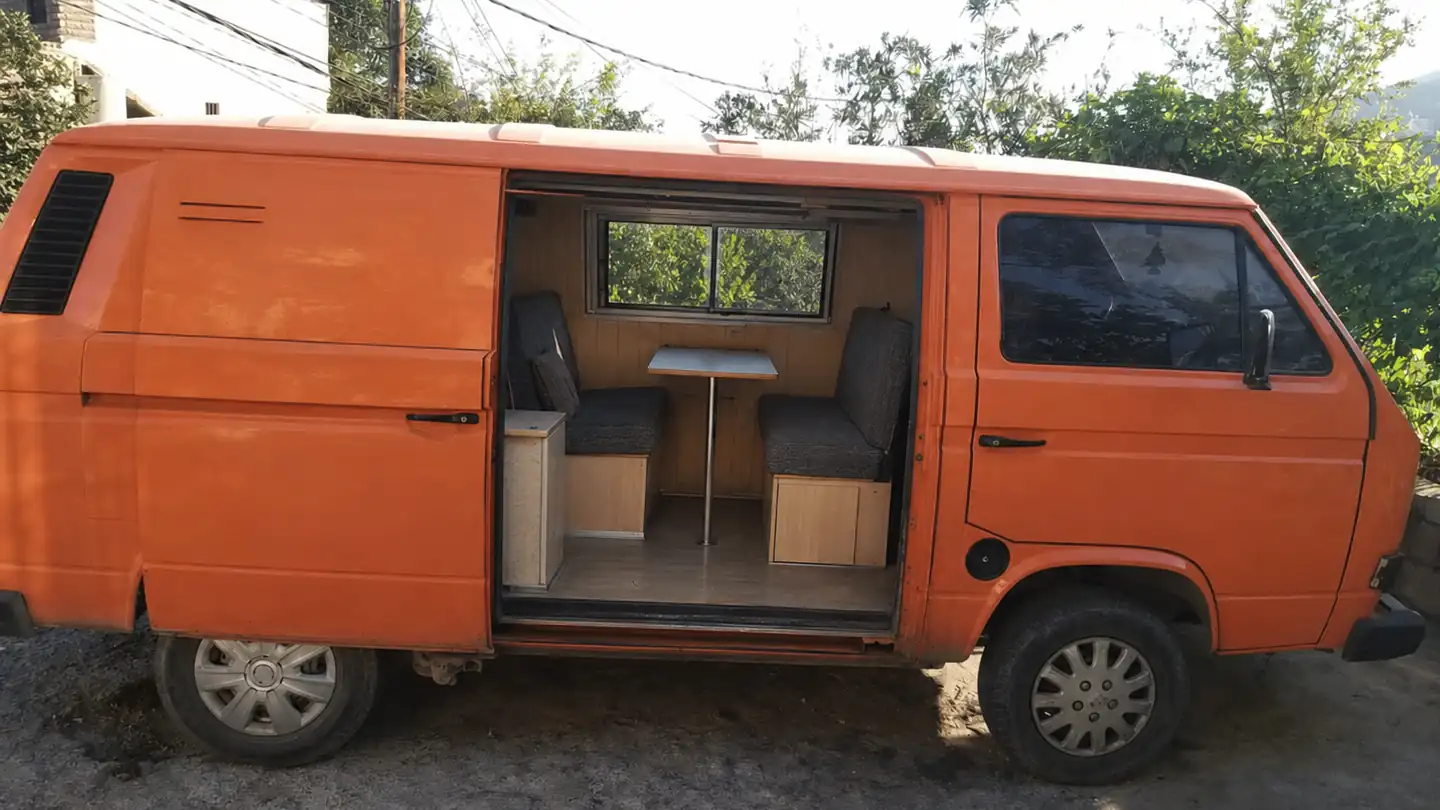
Budget Campervan Builds: From Weekend Camper to Full Conversion
A ladder of campervan build levels, from a simple removable camping setup to a full off-grid conversion, with what each level includes, who it suits and how to upgrade step by step.
Many people put off campervan travel because they think they need a fully finished, expensive conversion before they can start. In reality, you can begin with something very simple and improve it over time. Building in stages spreads the cost, lets you learn what you actually need and avoids spending money on features you never use.
This guide sets out a "ladder" of campervan build levels. Each step builds on the one before. Prices are not given as fixed figures because they vary so much by country, materials and whether you do the work yourself; see our van conversion cost breakdown for how to estimate your own.
Level 0: Car or Van Camping With No Conversion
What it is: sleeping in your existing vehicle with a mattress or camping mat, using camping gear for cooking.
Typical setup:
- Camping mat or foam mattress.
- Sleeping bags.
- Portable stove used outside.
- Cool box.
- Water containers.
- Window covers for privacy.
Who it suits: anyone wanting to test the idea, weekend adventurers and people with a tight budget.
Key lesson: you will quickly learn what bothers you most, whether it is the bed, the lack of storage or condensation.
Level 1: Removable Camping Setup
What it is: a simple, often removable bed platform and storage boxes in a van, without permanent modifications.
Typical setup:
- A bed platform made from timber or plywood, with storage underneath.
- Storage crates for food, cooking gear and clothes.
- A portable stove, used outside or with good ventilation.
- A cool box or small portable fridge powered when driving.
- Blackout curtains or insulated window covers.
- Battery-powered lights.
Advantages:
- The van can still be used for work or carrying loads.
- Low cost and quick to build.
- No complex wiring or plumbing.
Who it suits: weekend campers, people who need the van for other uses and first-time builders.
Level 2: Basic Insulated Camper
What it is: a van with insulation, simple wall and floor coverings, and a fixed or semi-fixed bed and kitchen unit.
Typical additions:
- Insulation on walls, roof and floor. See our campervan insulation guide.
- Plywood floor and wall panels.
- A simple kitchen unit with a sink and portable water containers.
- A roof fan for ventilation.
- A portable power station or a basic leisure battery.
Advantages:
- Much more comfortable in hot and cold weather.
- Feels like a proper camper.
- Still relatively simple to build.
Who it suits: regular weekend and holiday travellers.
Level 3: Off-Grid Capable Camper
What it is: a camper with a dedicated electrical system, fixed water system and more permanent furniture.
Typical additions:
- Leisure battery, charging from the alternator and solar panels. Read our electrical and solar basics.
- Compressor fridge. See our 12V fridge guide.
- Fixed fresh and grey water tanks with a pump. Our water system guide covers the details.
- LED lighting throughout.
- A portable or separating toilet. See campervan toilets compared.
- Better storage, overhead lockers and a more comfortable mattress.
Advantages:
- Several days off-grid without hook-up.
- Comfortable for longer trips.
Who it suits: people taking regular holidays and longer trips, and those who enjoy wild camping where permitted.
Level 4: Full-Time or Four-Season Camper
What it is: a complete conversion designed for long-term living and all seasons.
Typical additions:
- Diesel or gas heater with external exhaust.
- Hot water.
- Inside shower or wet room.
- Larger battery bank and more solar.
- Inverter for mains-type appliances.
- Workspace for remote work. See working remotely from a van.
- Robust security measures. See our safety and security tips.
Advantages:
- Comfortable in most weather.
- Suitable for full-time living or very long trips.
Who it suits: full-time vanlifers and long-distance overlanders.
Choosing Where to Start
Ask yourself:
- How often will you use the van? Occasional weekends rarely justify Level 4.
- What season and climate? Winter mountain trips need insulation and heating; summer coastal trips need ventilation and shade.
- Do you need the van for anything else? A removable setup keeps it flexible.
- What skills do you have? Electrics, gas and plumbing need knowledge and sometimes certified installers.
- What is your budget now, and later?
Upgrade Paths That Avoid Wasted Money
Some upgrades are easier if planned from the start:
- Insulate before building furniture. Doing it later means taking everything apart.
- Run cables early. Even if you only fit a basic system now, routing cables before panelling saves work later.
- Plan the roof. Decide where solar panels and fans will go, so you do not block them with roof racks.
- Leave space for a water tank. Even if you start with containers.
- Choose the bed layout carefully. It is the hardest thing to change later. See choosing a campervan bed layout.
Where to Save and Where Not To
Good Places to Save
- Cosmetic finishes: start simple and improve later.
- Second-hand furniture items, cushions and fabrics.
- DIY cabinetry if you have woodworking skills.
- Portable rather than fixed equipment at first.
Places Not to Cut Corners
- Electrical safety: correct cable sizes, fuses and secure connections.
- Gas safety: proper installation, ventilation and alarms.
- Seat and bed fixings: anything that could move in a crash must be secured properly.
- Weight: stay within the vehicle's legal limits.
- Base vehicle condition: a cheap van with serious mechanical problems can cost more than the whole build. Read the best vans for camper conversion.
DIY vs Professional Help
You do not have to choose between doing everything yourself and paying for a full conversion. Many people do the simpler work, such as insulation and furniture, and pay professionals for gas installation, complex electrics, roof cuts or seat installation. Check local regulations, as some work must be certified.
Example Build Ladder Summary
| Level | Main features | Typical trip length | Complexity |
|---|---|---|---|
| 0 | Mattress and camping gear | Overnight | Very low |
| 1 | Removable bed and storage | Weekends | Low |
| 2 | Insulation, simple kitchen | Weekends to a week | Medium |
| 3 | Solar, fridge, water, toilet | Weeks | Medium to high |
| 4 | Heating, hot water, shower | Long-term | High |
Learning From Each Stage
The biggest benefit of building in stages is the knowledge you gain. After a few trips at Level 1 or 2, you will know whether you really need a shower, how much power you use and what storage you are missing. Many experienced vanlifers say their second build was much simpler than their first because they learned what mattered to them.
Keeping Track of Your Build
Keep a simple build log with photos, wiring diagrams, product names and receipts. It helps when something breaks on the road, when you upgrade to the next level and when you eventually sell the van. Photos of the wiring and pipe runs before panels go on are especially valuable, because they let you find cables and joints later without taking walls apart.
Final Thoughts
You do not need a perfect conversion to start travelling. Start at the level that matches your budget and trips, plan for upgrades, and invest in safety from day one. For a step-by-step overview of a full build, read how to convert a van into a camper.
Gear we recommend
As an Amazon Associate we earn from qualifying purchases. Learn more.
- Portable power station 500Wh on Amazon
- Folding camping table on Amazon
- LED strip lights 12V on Amazon
- Foam mattress topper 4 inch on Amazon